At the time of writing, the popular WPML plugin is compatible with the following plugins: The Events Calendar, The Events Calendar Pro, and Filter Bar.
As a general rule, for optimal compatibility, it is best to use versions of WPML and of our plugins that were released at around the same date.
Please also understand that while we strive to be compatible with WPML and invest considerably in this effort, we can not guarantee 100% compatibility (as is true of third-party plugins generally).
Several of our other plugins and add-ons are not currently supported or compatible with WPML: Event Tickets, Event Tickets Plus, Community Events, Community Tickets, Eventbrite tickets, and Event Aggregator.
The good news is that we are currently working at expanding compatibility and hope to add support for the rest of our premium add-ons in the near future.
If you are looking for more information about setting up our Filter Bar add-on with WPML, please read our dedicated guide on this topic.
Configuring the plugins
There are some important steps that are essential to ensure that these plugins will work together. We’ll start by assuming that you’ve already got The Events Calendar installed and activated and will start with the installation of the WPML plugin.
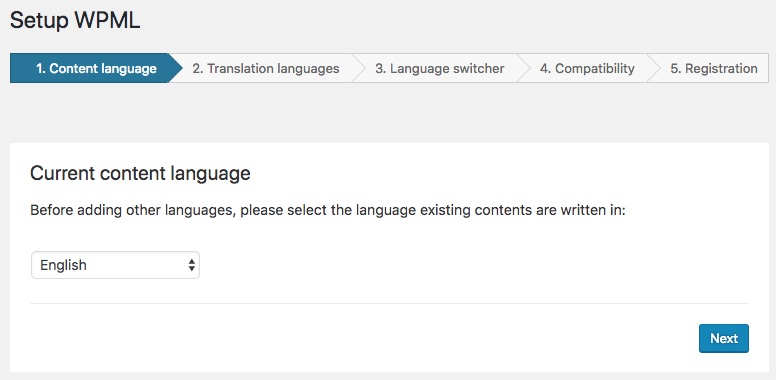
Install WPML and follow the initial setup steps completely. There aren’t any special settings that need to be used at this point, however, it is important that you completely set up the WPML plugin once started without navigating away from the process.
Once the plugin is installed, completely set up, and registered, you’ll need to download some additional WPML dependency plugins.
You can download these by navigating to the Plugins → Installed Plugins page from the WordPress dashboard.
Find the WPML plugin you installed, look for the “Registered” link, and click it.

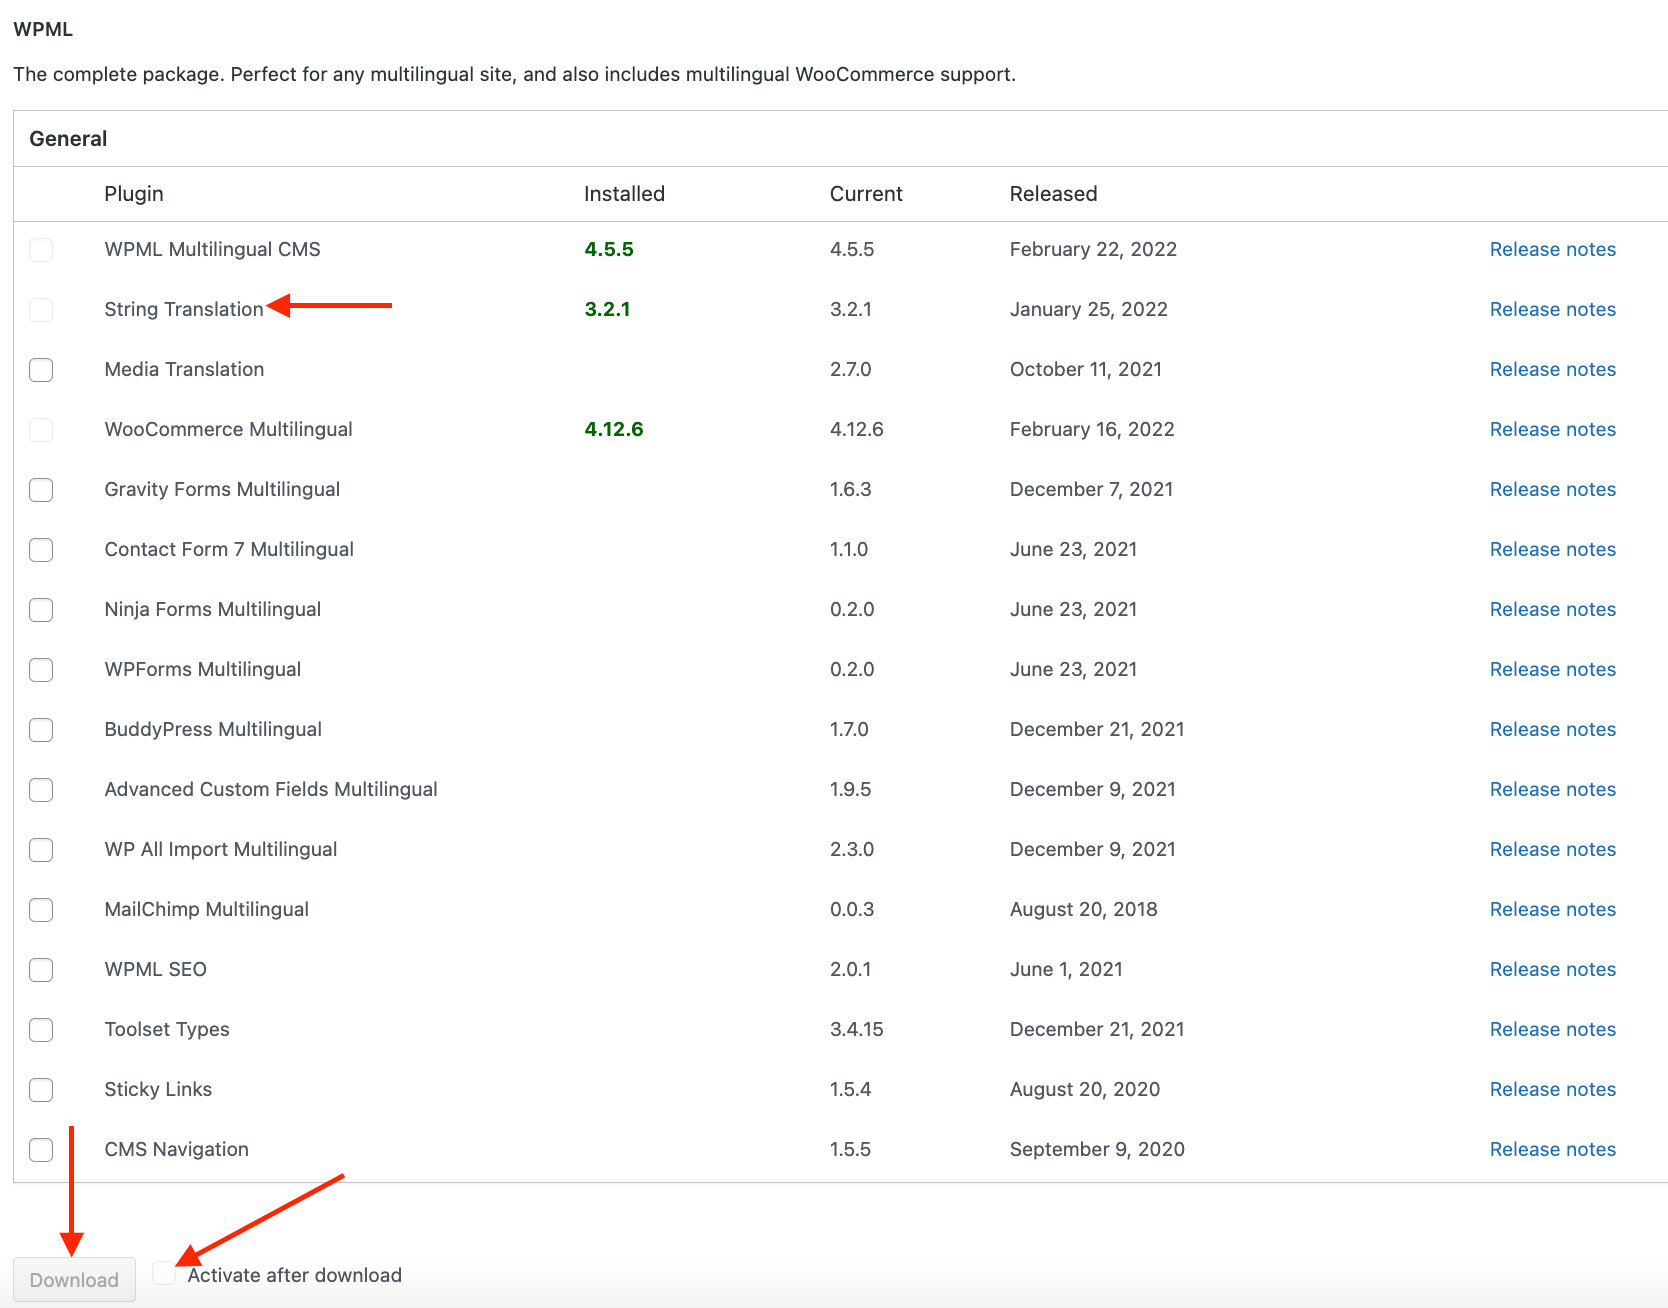
This will take you to a page that will allow you to download some additional plugins for WPML. Select the WPML String Translation plugin. Make sure that you select the option to Activate after download and click Download.
After that additional plugin has been downloaded and activated, you’ll now have new administration menu items under the WPML section of your WordPress dashboard.

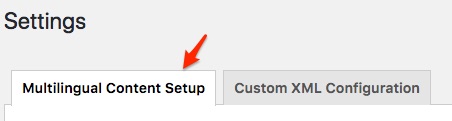
Navigate to the Settings page and make sure to select the Multilingual Content Setup tab.
Select your Translation Mode, which is the first option in that tab. You can choose whether to translate everything or translate some of your content.
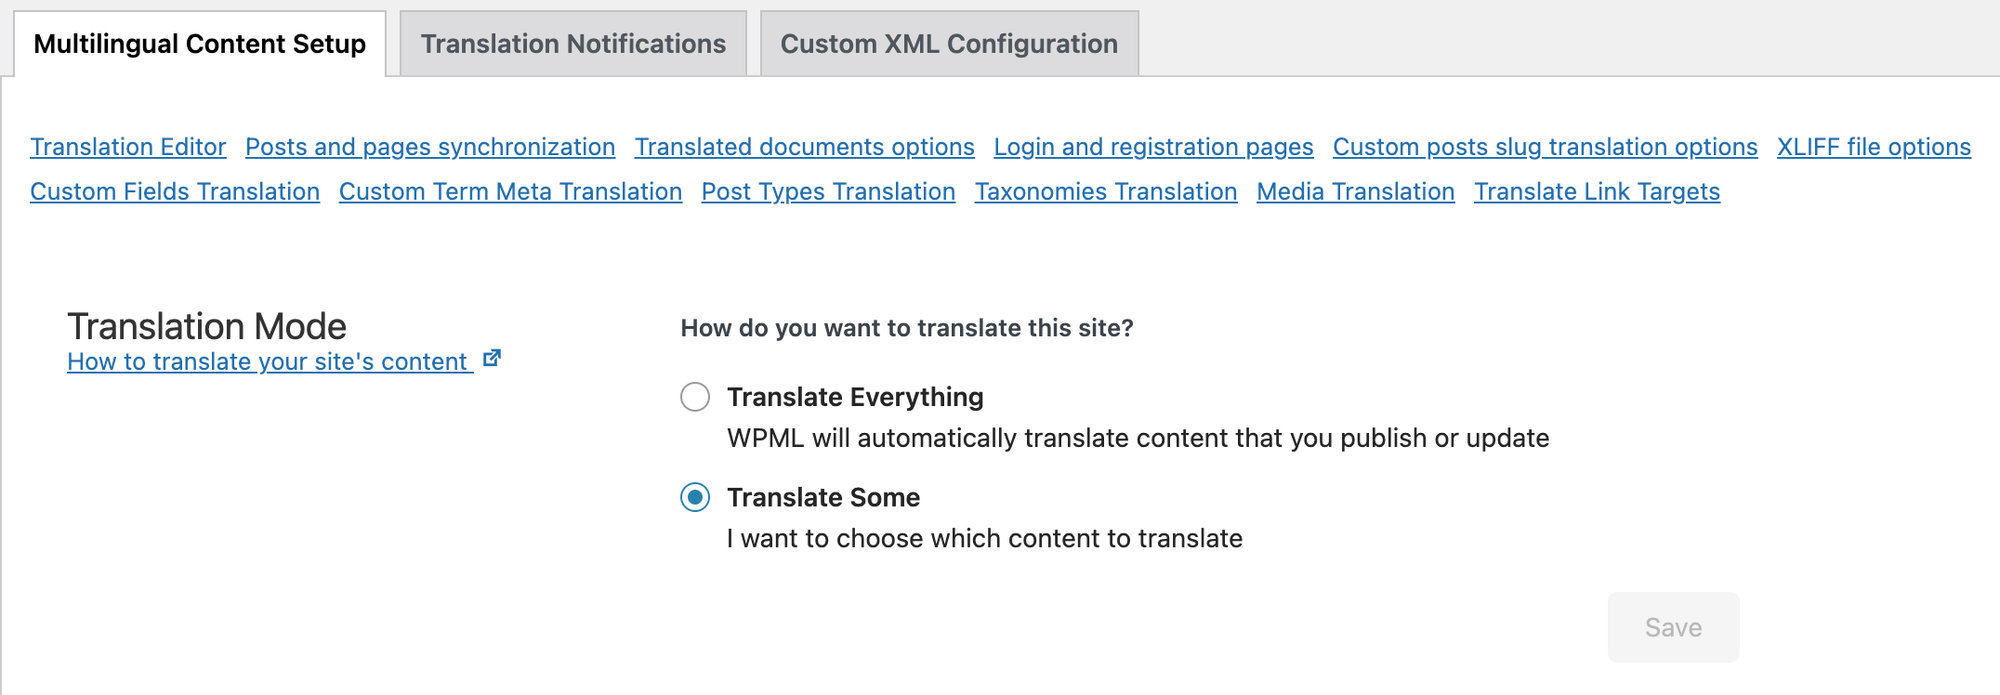
Then select either the Advanced Translation Editor or the Classic Translation Editor.

Note: The Classic Translation Editor will work if you are using The Events Calendar by itself. If you are using Events Calendar Pro alongside The Events Calendar, please note that recurring events will not work with the Classic Translation editor.
Scroll down to the Slug translations section, check the “Translate custom post and taxonomy base slugs (via WPML String Translation)” box, and click Save.

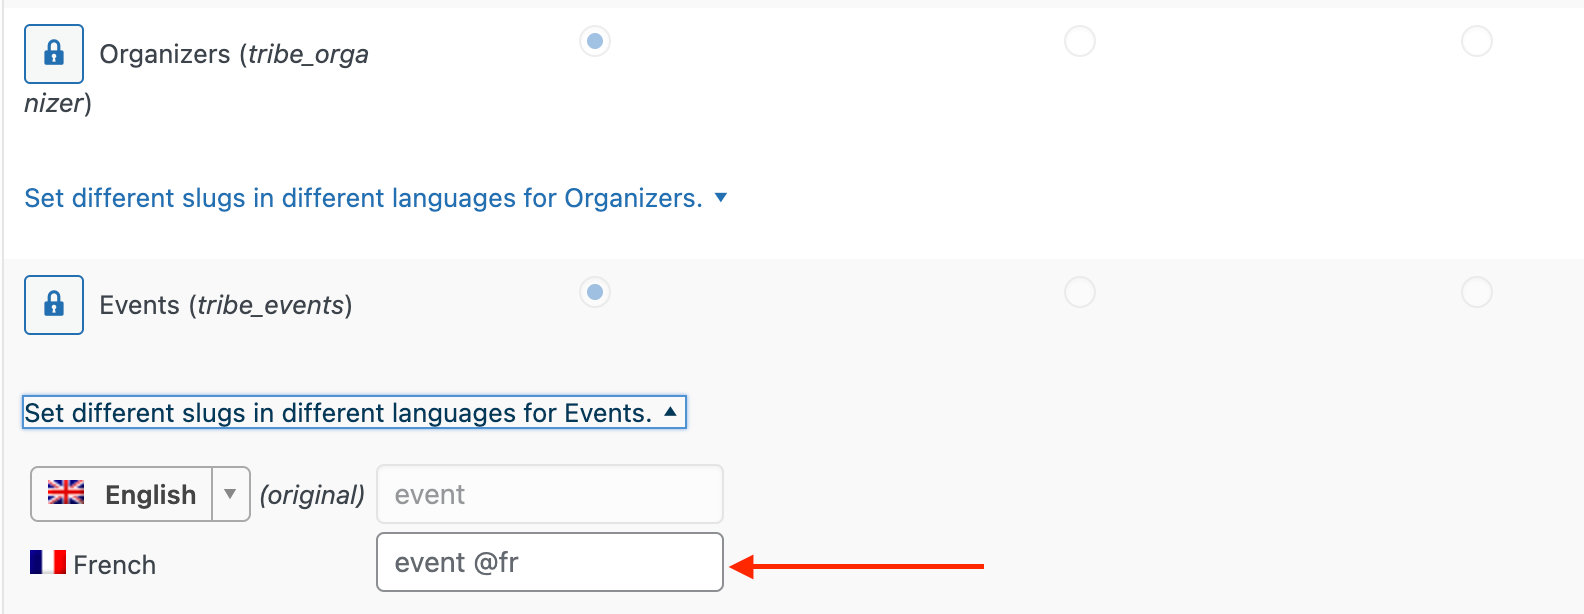
Scroll down to the bottom of the same tab to the “Post Types Translation” and “Taxonomies Translation” sections.
By clicking on the “Set different slugs in different languages for Events” link, you can choose to use a different slug for each language if you want to (see screenshot)
The basic plugin setup is now complete! You are ready to start managing translations for your event. Be sure to review our Creating Translations for Events Using WPML article for essential tips.
Displaying your events in other languages when they are not translated
In an ideal world, you would translate all of your events.
But sometimes, that is simply not possible for a handful of reasons.
Head over to WPML → Settings → Post Types Translation and select “Translatable – use translation if available or fallback to default language” for Events.
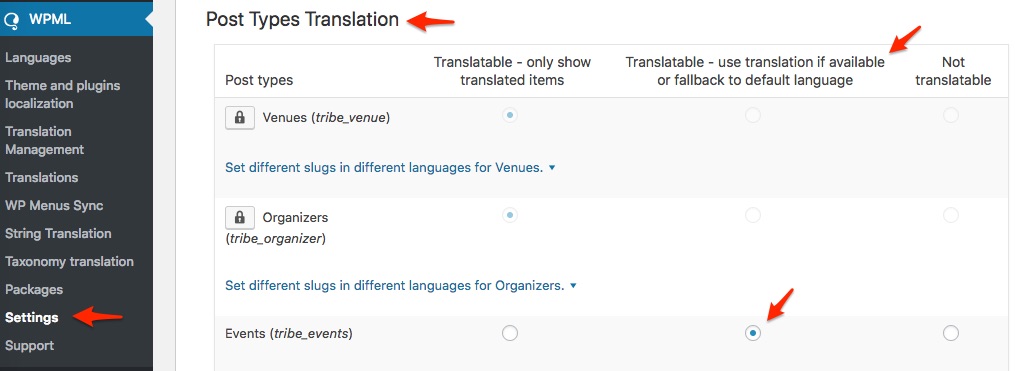
You should now be able to display non-translated events in all languages.
This also allows you to “cheat” a little and fake WPML compatibility if you are using Event Aggregator.
To be clear, this does not make Event Aggregator compatible with WPML. It merely allows you to display its untranslated events in all languages.
Setting your profile up for success
Some of our awesome customers have experienced issues with some of the elements of Events, Venues, and Organizers not being translated properly when toggling between languages.
Before this happens to you too, we highly recommend:
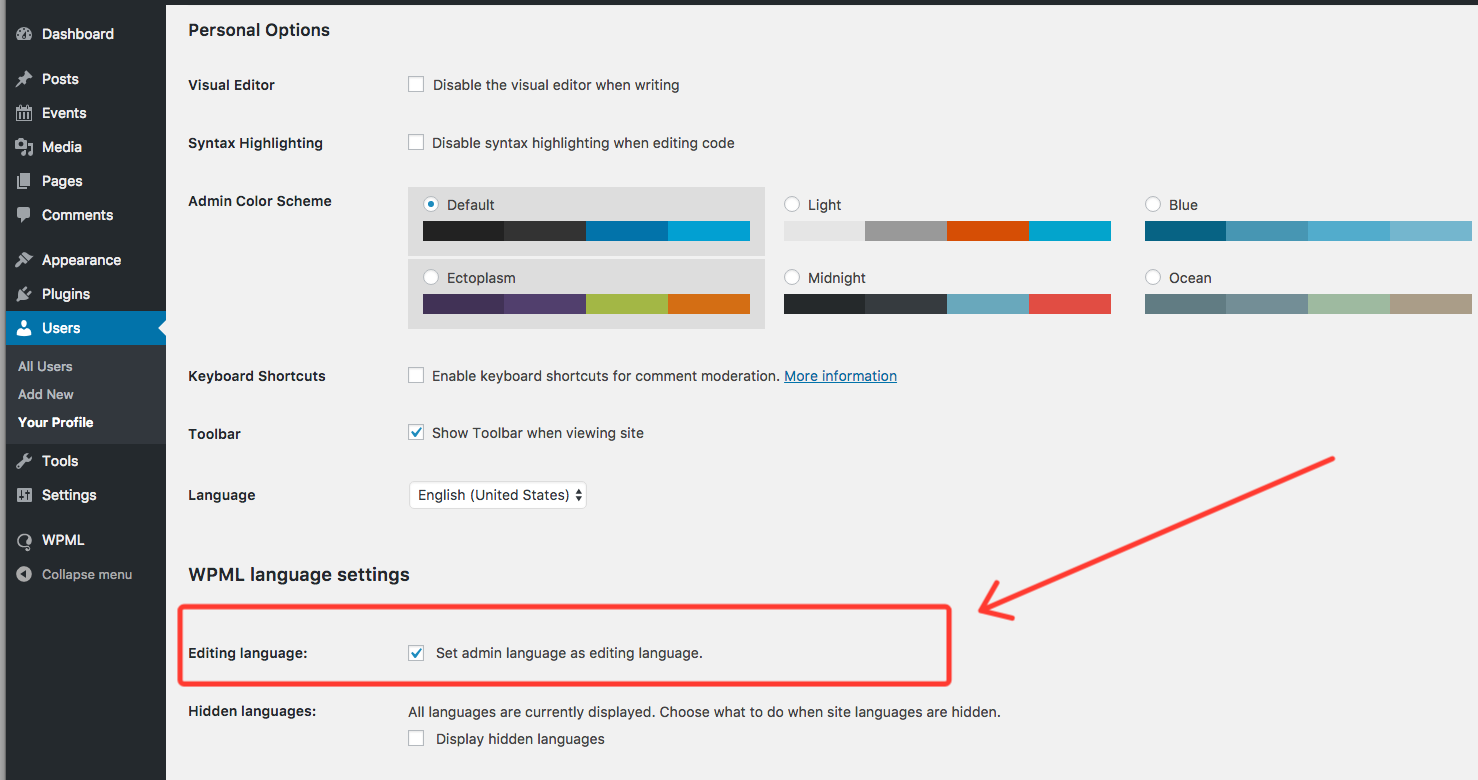
- Heading over to your profile
- Look for the WPML language settings section
- Make sure you check the “Set admin language as editing language.” option.
Emptying the WPML cache and preventing 404 errors
Starting with version 3.5.3, WPML uses caching to offer awesome performance on multilingual sites.
With that in mind, sometimes this can also cause 404 error messages, especially after one of the following changes:
- Upgrading one of our plugins
- Activating a WPML option such as “Custom post slug”
To resolve this, here is the recommended procedure:
- Disable WPML custom slug translation (see step 6 above)
- Save the settings
- Re-enable WPML custom slug translation
- Save the settings
- Flush permalinks in WordPress under Settings → Permalinks → Save
These steps will flush the WPML cache and avoid 404s errors in the calendar.
If that still does not work, after a quick database backup, try deactivating and reactivating all plugins related to The Events Calendar.